

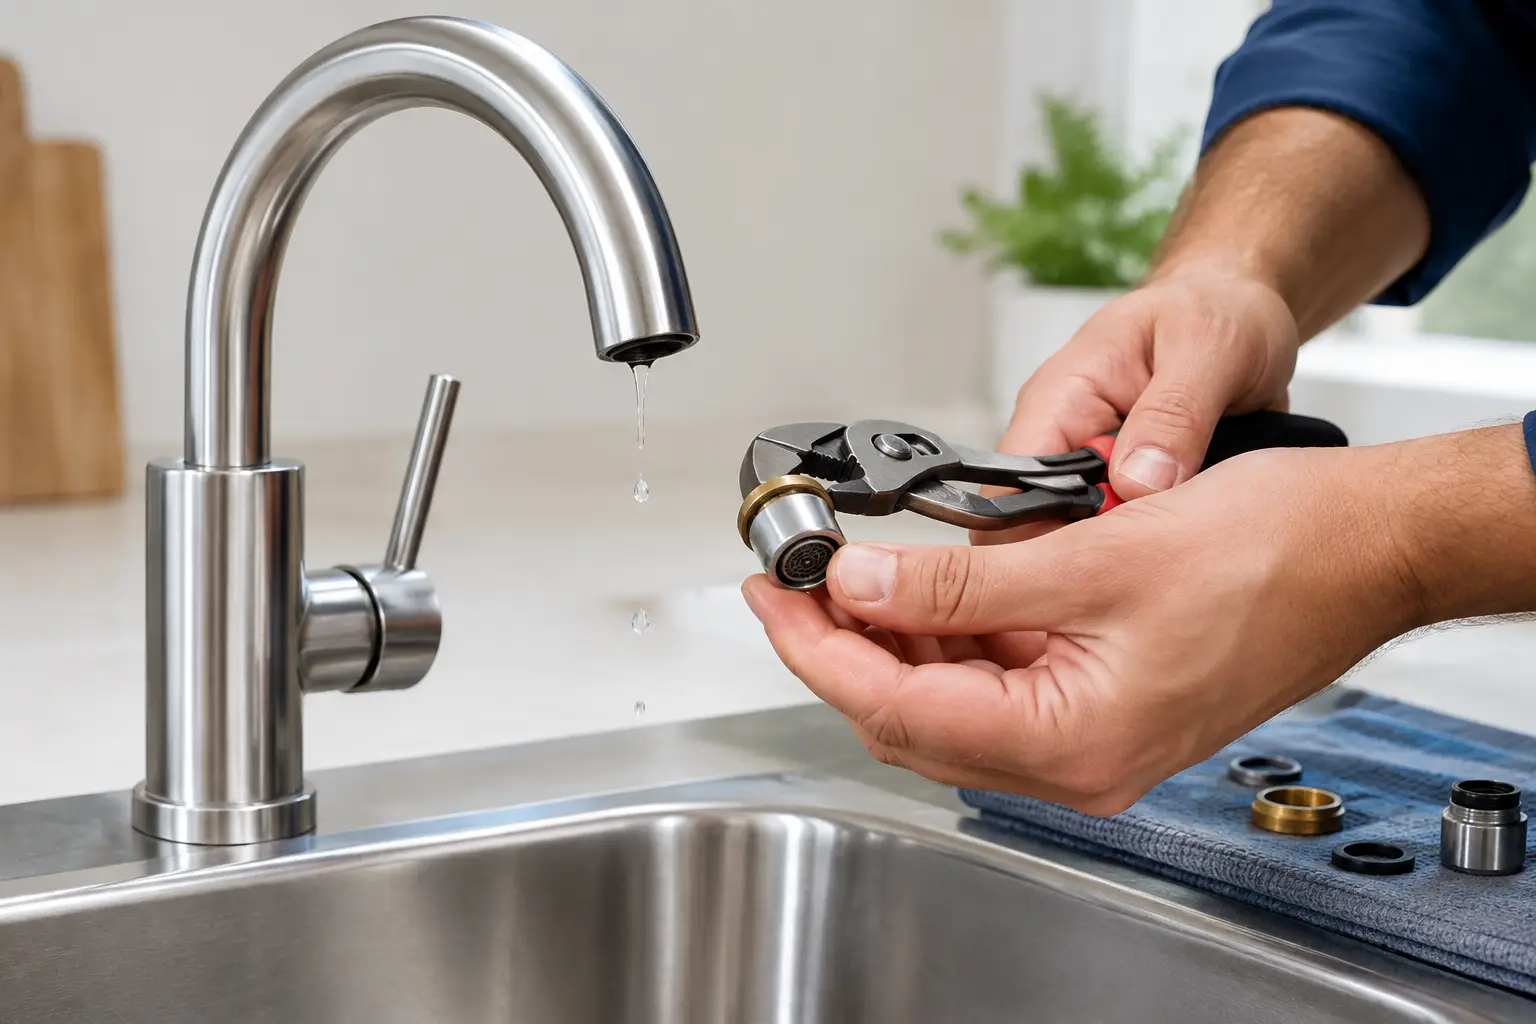
A tap that drips once every few seconds can seem harmless until the sound starts keeping you awake, the basin shows water marks, or your water bill quietly climbs. If you are looking for how to fix a dripping tap, the right repair depends on the type of tap and where the water is coming from. Replacing the wrong part can turn a small job into a leak beneath the sink.
Most dripping taps are repairable with a basic toolkit and a little care. However, a seized valve, damaged pipework or a leak affecting the hot-water system is a good reason to stop and call a qualified plumber.
First, work out where the tap is leaking
Before taking anything apart, look closely at the tap while it is running and once it has been turned off. Water dripping from the spout usually means the internal seal, washer or cartridge is worn. Water appearing around the handle often points to a worn O-ring, gland or cartridge seal. A puddle in the cupboard below the sink may be coming from flexible hoses, waste pipes or isolation valves rather than the tap itself.
This distinction matters. Tightening a handle will not cure a damaged hose, and replacing a washer will not solve a leak around the tap base. Dry the area with a cloth, then use kitchen roll to check exactly where fresh water first appears.
If water is flowing steadily, spraying, or reaching electrical sockets, appliances or cupboards, turn off the water supply and arrange professional help promptly.
Know which type of tap you have
The repair method changes with the tap mechanism. In many Dublin homes, you will find one of these common types:
- Traditional compression taps have separate hot and cold handles that need several turns to open. They commonly use a rubber washer at the bottom of the valve.
- Ceramic disc taps usually turn only a quarter or half turn. They use a ceramic cartridge rather than a standard washer.
- Monobloc mixer taps have one lever controlling both temperature and flow. Most use a cartridge inside the tap body.
- Pillar taps are separate hot and cold taps fitted through individual holes in the basin or sink. They may contain either a washer valve or a ceramic cartridge.
Do not assume a modern-looking tap has a standard washer. Forcing it apart or fitting an unsuitable replacement can damage the valve seating and leave you with a bigger repair.
What you will need before you start
For a straightforward washer or cartridge replacement, gather an adjustable spanner, small flat-head screwdriver, cross-head screwdriver, Allen key set, cloth, old towel and a plug or rag for the waste opening. You may also need a replacement washer, O-ring or cartridge.
The replacement part must match the existing one. If possible, remove the old component first and bring it to a plumbing supplier. For a cartridge, note the tap make and model if you know it, then compare the size, splines and locating pins carefully. Similar-looking cartridges are not always interchangeable.
Put the basin plug in place before removing screws or small parts. One dropped screw can quickly disappear into the waste pipe.
How to fix a dripping tap with a standard washer
A traditional compression tap is often the simplest type to repair. The rubber washer presses against a valve seat when the tap is closed. Over time, that washer hardens, cracks or loses its shape, allowing water to pass through.
Start by isolating the water. Look under the sink for small isolation valves on the hot and cold supply pipes. Turn the screw slot a quarter turn so it sits across the pipe, then open the tap to release remaining water. If there are no isolation valves, turn off the main stopcock. In many properties it is under the kitchen sink, though its location varies.
Cover the sink with a towel to protect the surface. Carefully prise off the decorative cap on the handle, remove the retaining screw and lift off the handle. Some taps have a small grub screw at the side or back of the handle instead, usually released with an Allen key.
Use a spanner to undo the valve headwork beneath the handle. Turn it anticlockwise, keeping steady pressure and avoiding sudden force. Once removed, inspect the rubber washer at the bottom. If it is flattened, split or stiff, fit a matching new washer. Also inspect the small O-ring around the valve spindle if water had been leaking from the handle.
Reassemble the tap in reverse order, turn the water supply back on slowly and test it. Do not overtighten the handle when closing the tap. Excess force shortens the life of washers and can damage the valve seat.
Repairing a ceramic disc or mixer tap
A ceramic disc tap or single-lever mixer typically needs a cartridge replacement rather than a new washer. The process begins in much the same way: isolate the water, drain the tap and remove the handle. Beneath it, you may find a decorative shroud and a retaining nut holding the cartridge in place.
Take a clear photograph before removing the cartridge. This helps when sourcing a replacement and shows the original orientation. Lift the old cartridge out, checking for mineral build-up, damaged seals or broken plastic locating lugs.
Wipe the inside of the tap body with a clean cloth. Do not scrape aggressively with a screwdriver, as scratches can prevent the new seals from seating correctly. Insert the new cartridge in the same position, tighten the retaining nut firmly but not excessively, then refit the handle.
If the tap still drips after a correctly fitted cartridge, the issue may be a damaged tap body, worn valve seat or poor-quality replacement part. At that point, replacing the tap may be better value than repeated repairs.
When cleaning may help, and when it will not
Limescale can affect how a tap performs, particularly on aerators and moving external parts. If the water flow is uneven or sprays sideways, unscrew the aerator at the end of the spout and soak it in a suitable descaling solution. Rinse it well before refitting.
However, descaling will rarely stop a tap that drips after being turned off. A persistent drip is normally caused by a failed internal seal, washer or cartridge. Cleaning may improve water flow, but it is not a substitute for replacing worn components.
Common mistakes that make a small leak worse
The most common problem is starting work without isolating the water. Even if you are certain the tap is off, pressure remains in the supply pipes. A loose cartridge or valve can release a surprising amount of water into a vanity unit or kitchen cupboard.
Another mistake is using too much force. Chrome fittings can be marked easily, and old valves may crack if they are twisted against seized pipework. Wrap a cloth around visible fittings before using a spanner. If a component will not move with sensible pressure, stop rather than leaning harder on the tool.
It is also tempting to keep turning the tap tighter until the drip stops. This may work briefly, but it often crushes the washer further and makes the eventual repair more difficult. A tap should close with normal hand pressure.
Finally, do not ignore a slow leak under the sink. Moisture can swell chipboard cabinets, encourage mould and damage flooring long before it becomes obvious from outside the unit.
When to call a plumber for a dripping tap
A DIY repair is reasonable when you can isolate the water, identify the tap type and safely access a straightforward washer or cartridge. It is better to call a professional if the stopcock is stuck, the isolation valve leaks, pipes are corroded, the tap is seized to the worktop, or the leak involves hot-water pipework.
You should also get help if a dripping tap is part of a wider issue, such as poor water pressure, banging pipes, discoloured water or repeated cartridge failures. These symptoms can point to a fault elsewhere in the plumbing system.
For Dublin homeowners, Irish Handyman can deal with the immediate tap repair as well as related plumbing problems found under the sink or around the bathroom. A proper repair should leave the tap working smoothly, the supply connections dry and the surrounding area checked for hidden water damage.
A dripping tap is rarely an emergency, but it is still worth dealing with early. Replacing a small worn part today is far easier than repairing a damaged cabinet, stained ceiling or failed tap tomorrow.
0 Comments